
Are you tired of staring at that outdated, clunky medicine cabinet in your bathroom? Well, we’ve got the solution for you! In this step-by-step guide, we’re going to show you how to remove a medicine cabinet safely and easily. Follow along with us as we walk you through each simple but effective process, whether you want to remodel your bathroom or simply replace it with something more up-to-date.
Introduction: Importance of Properly Removing a Medicine Cabinet
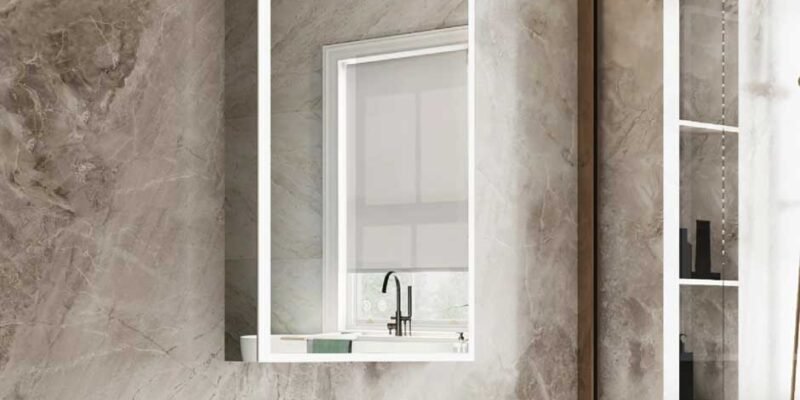
Medicine cabinets are an essential fixture in any bathroom, providing convenient storage for all your daily necessities such as medications, skincare products, and toiletries. However, you may need to remove your medicine cabinet for renovations or simply upgrade to a more recent one at some point.
It is essential to remove a medicine cabinet correctly for your own and your home’s safety. To guarantee that the job is completed effectively and without causing any unnecessary damage, this procedure requires careful planning and execution. Many individuals commit the error of strongly taking out their old cupboards disregarding how they are appended to the wall. Careful removal is especially important when dealing with delicate features such as a Medicine Cabinet With Mirror and Lights, ensuring a smooth transition without compromising the integrity of your bathroom walls.
Step 1: Gather Necessary Tools and Materials
Before you begin removing your medicine cabinet, it is important to gather all the necessary tools and materials. This will not only make the process smoother but also ensure your safety.
Here are some of the essential tools and materials you will need:
- Protective gear: When working on any kind of construction or renovation project, safety should always come first. To safeguard yourself from potential injuries and dust particles, make sure to don protective gear like gloves, safety glasses, and a face mask.
- Screwdriver: Most medicine cabinets are attached to the wall using screws. You will need a screwdriver – either a flathead or Phillips depending on the type of screws – to remove them.
- Utility knife: It’s possible that adhesive tape or caulking was used to seal the medicine cabinet’s edges in some instances. A utility blade can prove to be useful for slicing through these seals before eliminating the bureau.
- Putty knife: If your medicine cabinet has been glued onto the wall, a putty knife can help pry it off without damaging your walls.
- Hammer (optional): If you encounter any stubborn nails while removing the cabinet, a hammer can be used to gently tap them out from behind.
Step 2: Preparation and Safety Measures
Before starting the most common way of eliminating your medication bureau, it means quite a bit to avoid potential risks to guarantee your security and the prosperity of your restroom. During the removal process, you can avoid any accidents or damage by adhering to these safety and preparation measures.
1.Gather Supplies
Firstly, gather all the necessary supplies for the removal process. This includes a screwdriver, pliers, hammer, utility knife, drop cloth, gloves, and safety goggles.
2.Turn Off Electricity
If your medicine cabinet has a built-in light fixture or electrical outlet, be sure to turn off the power supply before starting the removal process. This will help prevent any potential electrical shocks while working near wires.
3.Clear Out Cabinet Contents
Then, eliminate all things from inside your medication bureau to keep them from dropping out during evacuation. It is likewise prudent to cover close by surfaces with a drop material to safeguard them from any garbage that might fall during the evacuation.
4.Wear Protective Gear
Put on a pair of heavy-duty gloves and safety goggles before starting the removal process. These will protect your hands from sharp edges or broken glass and prevent any debris from getting into your eyes.
Step 3: Detach the Cabinet from the Wall
Now that you have removed all the contents and have disconnected any electrical wires, it is time to detach the medicine cabinet from the wall. This step may require some extra effort and caution as you will be dealing with heavy objects and potential hazards.
1.Gather Necessary Tools
Before beginning this step, try to accumulate every one of the essential devices, for example, a drill, screwdriver, hammer, pry bar, and security gloves.
2.Locate Screws or Nails
Inspect your medicine cabinet carefully to locate any screws or nails that are holding it in place on the wall. Most cabinets are attached with screws while some may also have nails or adhesive strips holding them in place.
3.Remove Screws or Nails
Using a drill or screwdriver, carefully remove all the screws that are holding the cabinet in place. If there are nails present, use a hammer and pry bar to gently pull them out of the wall one by one.
Step 4: Remove the Shelves and Doors
After properly preparing the area and turning off any necessary utilities, it is time to remove the shelves and doors of your medicine cabinet. This step is important to safely access the interior of the cabinet and its mounting hardware.
1.Empty and Clean the Shelves
Make sure to remove all items from the shelves of your medicine cabinet before removing them. As a result, handling it will be simpler and spills and accidents will be avoided.
2.Unscrew Door Hinges
Using a screwdriver, carefully unscrew the hinges that attach the door(s) to your medicine cabinet. Depending on your specific model, there may be two or more screws holding each hinge in place.
3.Remove Shelves
Now that the doors are detached, you can remove the shelves from their supports inside the cabinet. Gently lift on one end of a shelf until it clears its support bracket, then slide it out completely.
4.Detach Mounting Hardware
With all racks eliminated, you can now get to any mounting equipment that might be tying down your medication bureau to the wall studs or surface region.
5.Carefully Pull the Cabinet Away from the Wall
Once all mounting hardware has been removed, you can slowly pull your medicine cabinet away from its installed position on the wall or surface area.
Step 5: Finishing Touches and Cleaning Up
After successfully removing the medicine cabinet, it’s important to take some time to do some finishing touches and clean up. This will not only ensure that your bathroom looks neat and tidy but also help prevent any potential hazards or accidents.
1.Patching Holes:
The most important phase in the last few details is to fix up any openings abandoned from eliminating the screws or sections of the medication bureau.
2.Painting:
If you decide to paint over the patched areas, make sure to match the colour with your bathroom walls for a seamless look. You can also consider repainting your entire bathroom for a fresh new look.
3.Replacing Damaged Tiles:
If there were any tiles damaged during the removal process, now is the time to replace them. Use tile adhesive and grout to secure them back in place and let them dry completely.
4.Cleaning Up:
It’s natural for dust and debris to accumulate during this DIY project, so make sure to thoroughly clean up your bathroom afterwards. Wipe down all surfaces, including walls, floors, and countertops with a damp cloth or vacuum cleaner.
5.Proper Disposal:
Dispose of all waste materials properly by separating glass from other materials such as wood or plastic components of the medicine cabinet before throwing them away.
Common Mistakes to Avoid
When removing a medicine cabinet, it’s important to be cautious and follow the proper steps to avoid any accidents or damage. However, there are some common mistakes that people often make when attempting this task. In this section, we will discuss these mistakes and how to avoid them.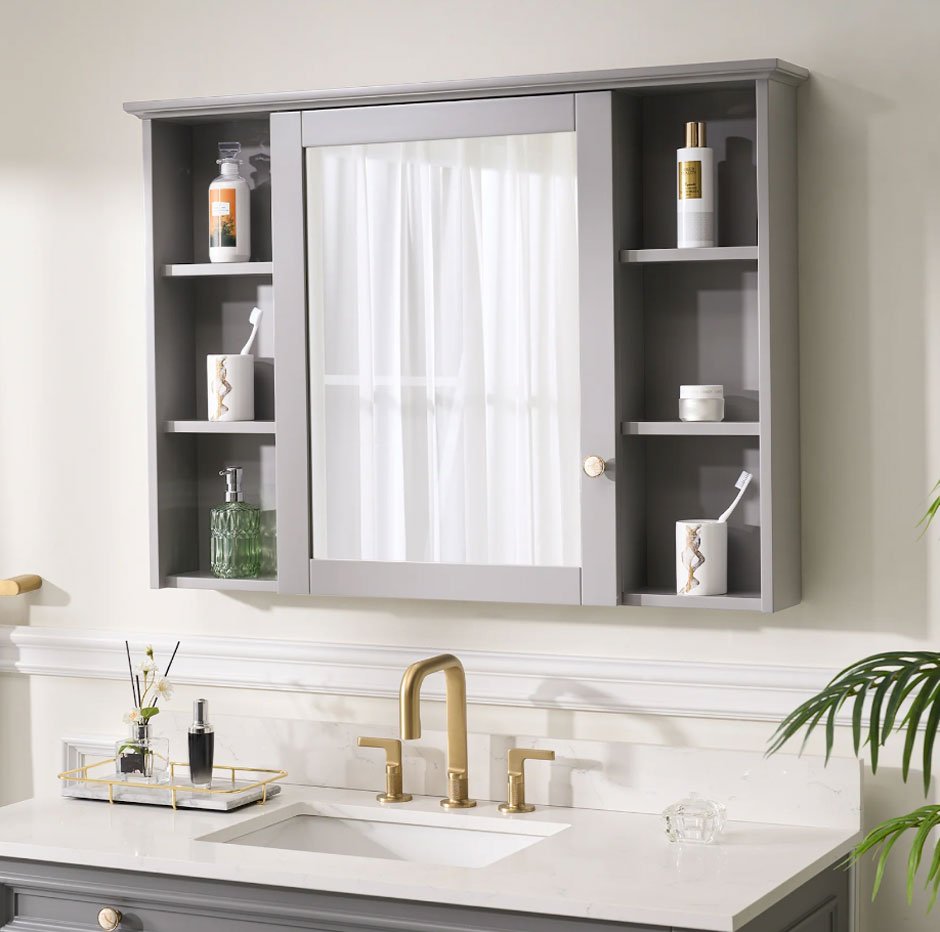
- Not turning off the power: Before beginning any work on your medication bureau, it’s essential to switch off the power supply in the washroom. Before beginning the process of removing the cabinet, be sure to either unplug any wires connected to it or turn off the main breaker.
- Using incorrect tools: Using the wrong tools to remove their medicine cabinet is another mistake. This might harm the bureau at any point as well as goal damage to yourself.
- Not protecting surrounding surfaces: When removing a medicine cabinet, it’s easy to focus solely on taking it down without considering potential damage to surrounding surfaces such as walls and tiles.
- Forgetting about plumbing: If your medicine cabinet has plumbing connections for water supply or drainage, it’s essential not to overlook them during removal. Failure to disconnect these connections properly can result in leaks and water damage in your bathroom.
- Not supporting the weight of the cabinet: Medication cupboards can be misleading weighty because of their items and materials utilized in development, for example, mirrors and glass racks.
Alternative Methods for Medicine Cabinet Removal
When it comes to removing a medicine cabinet, there are alternative methods that can be used instead of the traditional method of unscrewing and lifting the cabinet off the wall. These alternative methods may come in handy if you encounter any challenges or difficulties during the removal process.
1.Using a Pry Bar or Crowbar
Using a crowbar or pry bar to carefully loosen and remove the medicine cabinet from the wall is one option. Begin by setting a piece of material past the brink of the bar to forestall harm to your walls.
2.Cutting Around The Cabinet
Using a utility knife or a saw, you can also cut around the medicine cabinet’s edges. This is particularly valuable if your bureau has been stuck onto drywall as opposed to being a fastened spot.
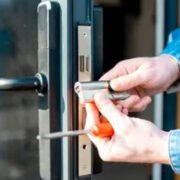
3.Seeking Professional Help
If none of these methods seem suitable for your particular situation, do not hesitate to seek professional help! Also explore a world of comprehensive wellness resources and expert insights at wellfor.com, where your journey to a healthier and more balanced lifestyle begins.
Conclusion: Importance of Proper Disposal and Recycling
It is vital to properly dispose of and recycle your old medicine cabinet. Not only does it ensure the safety of yourself and others, but it also has a positive impact on the environment.
Improper disposal of an old medicine cabinet can lead to potential hazards such as sharp edges, broken glass, and hazardous chemicals. This puts you and sanitation workers, who might come into contact with these materials, at risk.


Comments